If you’ve ever cooked greens and they turned dark, dull, or weirdly chewy… it’s usually one of two things: they weren’t cleaned properly, or they cooked too long.
Blanching fixes a lot. It locks in that bright green color, takes the edge off bitterness, and gives you greens that are tender but still have some life to them.
Here’s how I do it:
Start by trimming anything that’s not going to eat nicely.
Cut off:
You want everything to cook evenly, not half tender and half chewy.
Tip: If you’re working with collards, don’t toss those stems. Blanch the leaves, then save the stems for sautéing later (they’re awesome in warm salads).
Greens hold onto grit like it’s their job. Fill a big bowl with cold water, drop the greens in, and swish them around hard. Let them sit for a few seconds so the dirt sinks. Then lift the greens out with your hands. Don’t pour the whole bowl into a strainer. You’ll dump all the dirt right back onto the leaves. Repeat with fresh water until the water stays clean.
Get a big pot of water boiling and salt it. It should taste like the sea. Salting helps the greens taste better and keeps the color looking fresh.
Drop the greens in and press them under the water so they cook evenly. Timing depends on the greens:
You’re not trying to fully cook them here. You’re just giving them a quick hit of heat.
As soon as they’re done blanching, scoop them straight into a bowl of ice water. This stops the cooking immediately, and that’s what keeps them bright green instead of turning army-colored. Let them chill for a minute or two.
Drain the greens and lay them out on paper towel. Put another paper towel on top and press. Not a gentle pat. Press. The drier they are, the better they sauté. If they’re wet, they’ll steam and go limp.
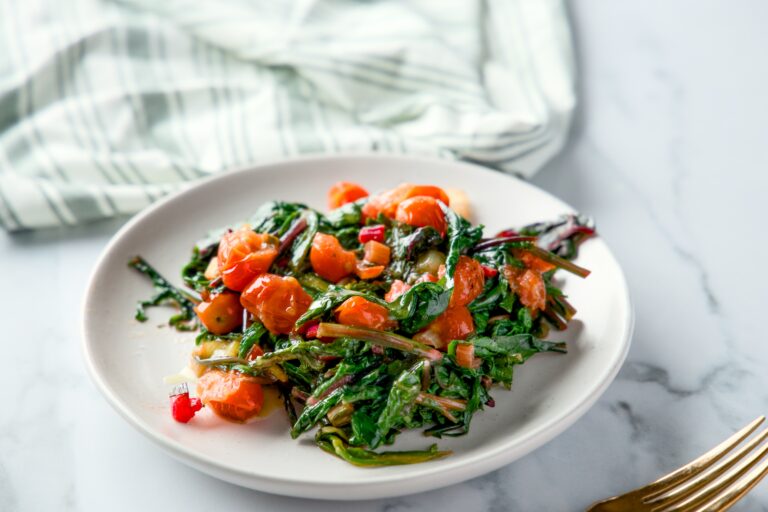
Now they’re ready to use.
Storage tip: Wrap blanched greens in paper towel and keep them in a container in the fridge. They hold up great for a few days.